
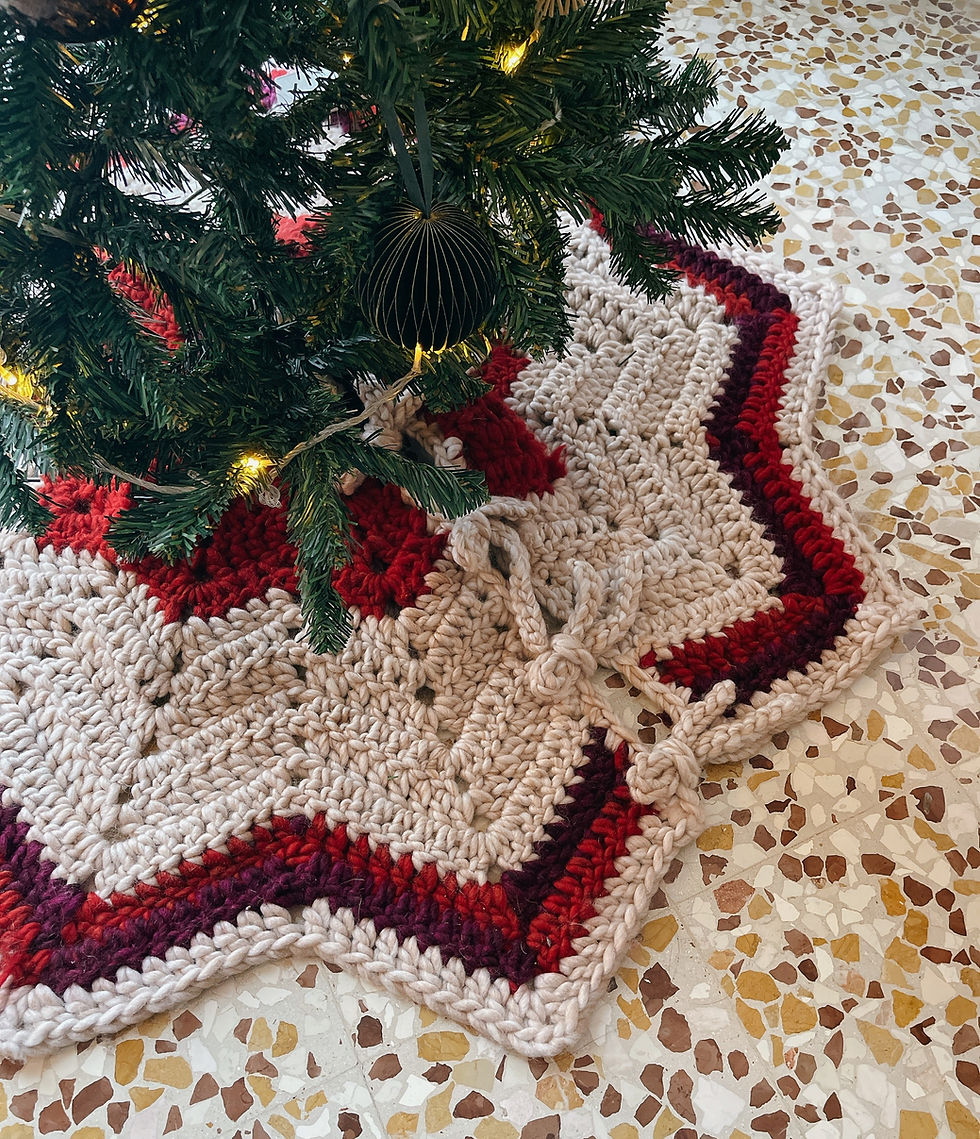
The Bralette Blueprint: Any Stitch, Any Style
- jessrootknots

- Oct 22, 2025
- 10 min read
Updated: Nov 4, 2025

When you close your eyes and think of “crochet tops,” do you picture those bohemian-style, halter-tied bralettes with delicate lacy details that people wear to music festivals in the desert or on the beach? That was definitely me. I went through a phase where I imagined living freely, close to nature and the flow of life—and it was one of the reasons I first started learning to crochet: to create clothes that reflected the lifestyle I dreamed of.
Now, if you ask me about crochet tops these days… oh boy, I’ve come a long way since my “festival daydreaming” phase! But you know what? I still can’t resist a cropped, strap-wrapped crochet top in the summer. No matter how fancy my designs get, give me some sun, a little yarn, and straps to wrap around, and I’m a happy human.
With so many beautiful crochet patterns already out there (some even free!), I wanted to create something a little different: a versatile bralette base. This base can be paired with any stitch pattern you love, so you can turn your favorite textures into wearable art. No more saving your beautiful stitches for coasters or pillows—you can wear them out in the world and show them off every day!
If you’re as excited as I am about this idea, here’s the pattern for a bralette base that will let you turn your new favorite stitch into a garment you’ll want to wear again and again.

SKILL LEVEL: Beginner
SIZES
XS (S, M, L) (XL, 2XL, 3XL)
Recommended ease: Bust 11-13“ / 15 - 22cm of negative ease.

YARN & HOOK
Yarn: Fingering weight
Crochet Hook 3.0mm (or any size that meets gauge)
GAUGE
24 double crochet stitches x 10 rows = 4 x 4” / 10 x 10cm after blocking.
ABBREVIATIONS (US Terminology)
CH - Chain Stitch
DC - Double Crochet
DC2tog - Double Crochet 2 Together
Pic -Picture
Rep - Repeat
SC - Single Crochet
SK - Skip
SL-ST - Slip Stitch
SP - space
ST(s) - Stitch(es)
PATTERN START
Bra Cup
CH 6 (7, 8, 9) (10, 11, 12)
Row 1: DC in first 5 (6, 7, 8) (9, 10, 11) CH STs. (3DC, CH2, 3DC) in last CH ST. Turn the work and crochet from the bottom of the STs. DC in each ST to the end. Turn. [18 (20, 22, 24) (26, 28, 30)]
Row 2: DC in first 6 (7, 8, 9) (10, 11, 12) STs. 3 DC in next ST. DC in next ST. (3DC, CH2, 3DC) in center CH2-SP. DC in next ST. 3 DC in next ST. DC in each ST to the end. Turn. [28 (30, 32, 34) (36, 38, 40)]
Row 3: DC in each ST. 3DC in the middle DC of the 3-DC from the previous row (pic 1). DC in each ST until the CH2-SP. (3DC, CH2, 3DC) in ch2-sp. Dc in each ST. 3DC in the 1st DC of the next 3-DC from the previous row (pic 2). DC in each sts to the end. Turn. [38 (40, 42, 44) (46, 48, 50)]
Row 4: DC in each ST. 3DC in the 3rd DC of the 3-DC from the previous row (pic 3). DC in each ST until the CH2-SP. (3DC, CH2, 3DC) in ch2-sp. DC in each ST. 3DC in the middle DC of the next 3-DC from the previous row. DC in each ST to the end. Turn. [48 (50, 52, 54) (56, 58, 60)]

Sizes 2, 3, 4, 5, 6 and 7:
Rows 5 to - (8, 10, 12) (14, 16, 18): Rep and alternate from Rows 3 to 4. [- (90, 112, 134) (156, 178, 200)]
Size 1:
Rows 5: *DC in each ST. 3DC in the 1st DC of the 3-DC from the previous row.* DC in each ST until the CH2-SP. (3DC, CH2, 3DC) in ch2-sp. Rep from * to *. DC in each sts to the end. Turn. [58]
Row 6: *DC in each ST. 3DC in the 3rd DC of the 3-DC from the previous row.* DC in each ST until the CH2-SP. (3DC, CH2, 3DC) in ch2-sp. Rep from * to *. DC in each sts to the end. Turn. [68]
All sizes:
Row 7 (9, 11, 13) (15, 17, 19): DC in each ST. 2 DC in the 2nd DC of the 3-DC from the previous row. DC in each ST until the CH2-SP. (2dc, ch1, 2dc) in ch2-sp. Dc in each ST. 2 DC in the 1st DC of the next 3-DC from the previous row. DC in each sts to the end. Turn. [73 (95, 117, 139) (161, 183, 205)]
DO NOT cut the yarn and continue to the next section.
Side Extension
Row 1: DC in first 16 (21, 26, 31) (36, 41, 46) STs. DC2tog over the next 2 STs. [17 (22, 27, 32) (37, 42, 47)]
Row 2: DC2tog over the first 2 STs. DC in each ST to the end. [16 (21, 26, 31) (36, 41, 46)]
Row 3: DC in each ST until 2 STs left. DC2tog over the last 2 STs. [15 (20, 25, 30) (35, 40, 45)]
Rows 4 to 9 (10, 11, 12) (13, 14, 15): Rep and alternate from Rows 2 to 3. [ 9 (13, 17, 21) (25, 29, 34)]
Rows 10 (11, 12, 13) (14, 15, 16) to 13 (14, 15, 16) (17, 18, 19): DC in each ST across and turn. [ 9 (13, 17, 21) (25, 29, 34)]
CH1, cut the yarn and fasten off.
Rep the “Bra Cup” and “Side Extension” sections to complete the second side.
Seam
You can simply use the mattress stitch to seam the two panels together in the middle.
However, if you’re working with two colors like in my sample, you can try this alternative method to create a visible, dotted seam line (as shown in pic 4):
Place the two panels together with the wrong side facing out. Attach your yarn to the left DC of the 2-DC group from the last row (see pic 5). Then, SC through both panels, one ST at a time, all the way across (see pic 6).

Edging
Place the work right side up, attach the yarn in the ST of the bottom corner.
Row 1: CH4 (count as 1 DC and CH1), SK1, 3DC in next ST. *CH1, SK3, 3DC in next ST.* Rep from * to * until you have less than 4 STs left. CH1, (2DC, CH2, 2DC) in the last ST (pic7). Turn your work 90 degree and continue to work along the top side.

**CH1, SK 2 rows, 3DC in between the rows (pic 8).** Rep from ** to ** until the end of the side extension. Entering the upper edge of the bra cup, rep from * to * until the CH1-SP at the peak of your bra cup.
If your last rep is finished right before the CH1-SP (pic 9): CH2, SK the CH1-SP, 3DC in the next ST (pic10). Continue to rep from to until the middle of your bralette.
If your last rep is finished with less than 4 STs before the CH1-SP (pic 11): CH1, (2DC, CH2, 2DC) in the CH1-SP (pic 12). SK as many STs as you skipped from the first side (pic 13), continue to rep from * to * until the middle of your bralette.

If your last rep is finished with 1 or 2 ST(s) before the CH1-SP (pic 14): Work 1 DC in the seam ST, SK as many STs as you skipped from the first side (pic 15). Continue to finish the row as a mirror of the first side. Turn.
If your last rep is finished with 3 or 4 STs before the CH1-SP (pic 16): CH1, work 1 TR in the seam ST, SK as many STs as you skipped from the first side (pic 17). Continue to finish the row as a mirror of the first side. Turn.
Row 2: CH3 (count as 1 DC), DC in CH1-SP. *CH1, (DC, CH1, DC) in next CH1-SP.* Rep from * to * until the corner. (2DC, CH2, 2DC) in CH2-SP (pic 18). Continue to rep from to until the first peak of your bralette.
If you have 2DC before the CH2-SP at the peak: CH1, (2DC, CH2, 2DC) in the CH2-SP. Continue to rep from * to * until the middle of your bralette.
If you have 3DC before the CH2-SP at the peak: CH2, (2DC, CH2, 2DC) in the CH1-SP, CH2, (DC, CH1, DC) in next CH1-SP. Continue to rep from * to * until the middle of your bralette.
Before the last 3-DC group approaching the middle of your bralette, CH1, DC on top of the TR. CH1, SK the next 3-DC group and (DC, CH1, DC) in next CH1-SP. Continue to finish the row as a mirror of the first side.
For the next row, we will be making the foundation for the pattern we are planing to apply.
How to Adapt Free Stitch Patterns to Your Crochet Garments?
Alright, now that our bralette base is ready, it’s time for the fun part — adding a beautiful stitch pattern to make it truly yours!
For this next row, we’ll be building the foundation for whatever stitch pattern you’d like to use.Turn your work 90 degrees so you can crochet along the bottom edge of your bralette — this is where your chosen design will begin.
Before you jump in, it’s really important to understand the stitch rhythm (or “multiple”) of the pattern you’re planning to use. Most crochet stitch patterns follow a multiple of a certain number, plus a few extra stitches — those extras are usually for the turning chains or the starting/ending edges.
Here’s the key thing to remember when adapting a pattern for your own garment:
🧶 Your job is to spot the turning chains from the designer’s instructions or chart and exclude them when counting your actual stitch multiple.
Why? Because when you’re adding a stitch pattern to an existing piece (like our bralette), you’re not starting from a foundation chain — you’re joining onto a finished edge. That means those turning chains the designer added to start their pattern rows don’t apply to your work anymore.
Example 1: Shell Fan Stitch by MyPicot

In the Shell Fan Stitch chart from MyPicot, the pattern says it’s worked in multiples of 19 + 2.But if you look closely, one of those “+2” stitches is used as the turning chain, not part of the repeat. So the real working rhythm here is multiples of 19 + 1.
That means for your foundation row (Row 3), you’ll want your stitch count to match 19 + 1 if you’re using this stitch for your bralette.

The Ribbed Herringbone Stitch by Rich Textures Crochet is another good example.At first, it looks like the pattern uses multiples of 10 + 1, but when you check the instructions for Row 1, you’ll see that the actual working multiple is 10 + 9.
That’s because the designer included the turning chains in their stitch count for the foundation chain. Since we’re not starting from chains, we need to subtract those turning stitches to find the true working rhythm for our project.
Once you understand how to recognize and remove those turning chains, you can adapt almost any stitch pattern to fit your crochet garments — no matter how the designer wrote it.It’s like learning a new crochet language: once you speak it, you can make any pattern your own. 💫
I’ll walk you through the first row of this beautiful stitch so you can see exactly how I worked out that rhythm of 10 + 9.
This is the Row 1 instruction for the Ribbed Herringbone Stitch: “Row One: 4 dc in the 6th ch from your hook, dc in the next st, 4 dc into the next st, ch 1, sk the next 3 sts, sc in the next st, ch 1, sk the next 3 sts, 4 dc in the next st, dc in the next st, 4 dc in the next st; repeat from across, sk the next 2 sts, dc in the final st, ch 1, turn.”
To figure out the true stitch count for this pattern, I found it easiest to sketch a quick crochet diagram based on the written instructions.

Once the chart is drawn, I mirror the beginning and end of the row to see how many chains act as turning chains (marked in red in the sketch) and count as the first stitch.
Next, I highlight the repeat section (shown in green) and count the stitches used there—excluding the turning chains. From this, it’s clear that one full repeat uses 10 stitches, and when you include the mirrored edges and turning chains, you need an additional 9 chains.
So, the foundation chain for this stitch pattern should be a multiple of 10 + 9. And now we’re ready to start Row 3!
Row 3: Turn your work 90 degrees so you’re working along the bottom edge of the bralette — this is the side of your DC rows. As you go, place about 3–4 SC for every 2 rows of DC.
There’s no need to stress about getting it perfect stitch by stitch; just keep things even and aim to match the total stitch count you worked out earlier. This way, your bottom edge will line up nicely with the stitch pattern you’re about to continue, giving the second part of your bralette a smooth and balanced start.
From here, you’re all set to dive into your favorite stitch pattern and explore endless possibilities! I’ll meet you back once you’ve built your bralette in that fabulous design you chose—at just the length you love.
Straps
Now that your dream bralette reaches the ideal length, it’s time to circle back and make the straps—so you can actually slip it on and show off your beautiful work!
Attach the yarn in the ST shown in pic 19 at the peak of your bra cup.
Row 1: CH3, (2DC, CH2, 2DC) in CH2-SP. SK1, DC in next ST (pic 20) and turn.

Row 2: CH3, (2DC, CH2, 2DC) in CH2-SP. SK2, DC in the 3rd CH of the turning CH from the previous row (pic 21). Turn.
Repeat Row 2 about 20 to 30 times, depending on how long you’d like the piece to be before the crossing and tying section. And continue to the finishing row.
Finishing Row: CH1, SL-ST in each of the 2 DCs, SL-ST in the CH-2 SP. CH120-200, depending on how long you need your strap to be. SL-ST in each ST along the CHs just made. SL-SL back to the CH-2 SP where we started the CH and fasten off.
Rep the same steps for the second strap.

Weave in all your yarn ends, block your work, then thread the straps through the lace-edged holes in a crisscross pattern to tie and wear your fresh-off-the-hook bralette with pride!
I hope this little guide gets your creative hooks spinning! If you’ve learned something new, go wild and make it your own.
I’m off to finish my bralette in the Ribbed Herringbone Stitch—can’t wait to see how yours turns out!
When you share your masterpiece on social, don’t forget to tag me @jess_rootknots. Nothing makes me happier than seeing your gorgeous creations out in the wild!


Comments